For creators · VR180 · side-by-side

How to recordin VR.

What a VR clip has to be to sell on Lewdden, what you check in the thirty seconds before Rec, who the viewer is in each take — and how you look at your own scene in a headset before anyone pays. Read it from the sale backwards.

1.60mcamera height for a standing viewer — 1.20 m seated
40 cm – 1.5mwhere the action belongs — real depth, comfortable to fuse
0°tilt. A level horizon, every take
8Ktop rung we sell — 6K plays everywhere, 8K needs a long encode

What sells here

Start at the end: this is what Lewdden puts on sale, what the buyer sees, and what the encoder does with your file. Every decision on the set follows from it.

The format

VR180 · side-by-side · left eye on the left

A file in the wrong projection does not fail here — it just looks wrong in the headset, and the buyer blames you. We do not convert between projections.

Shape
twice as wide as tall — 5760×2880, 8192×4096
Not
360°, over-under, fisheye — they upload fine and play wrong
Codec, frame rate
whatever your camera gave you — we re-encode for streaming
Our quality ladder

4K · 6K · 8K — and what each costs in time

Shoot the highest resolution your camera offers and upload well before you plan to publish — a big encode is not a stuck encode.

8K
our top rung — a 20-minute clip occupies an encoder for about an hour
6K
plays everywhere, including PC-VR in the browser
4K
the floor — fine for a live test, soft for a clip at VR prices

Required

The trailer is your VR teaser

A VR clip cannot go to review without a trailer, and the trailer becomes the free teaser in the headset — same encoding, same button. Fifteen to thirty seconds, shot at the same height and distance, so it is an honest sample. A buyer who has watched your work in their own headset is a different buyer from one looking at a thumbnail.

Trailer and thumbnail rules →
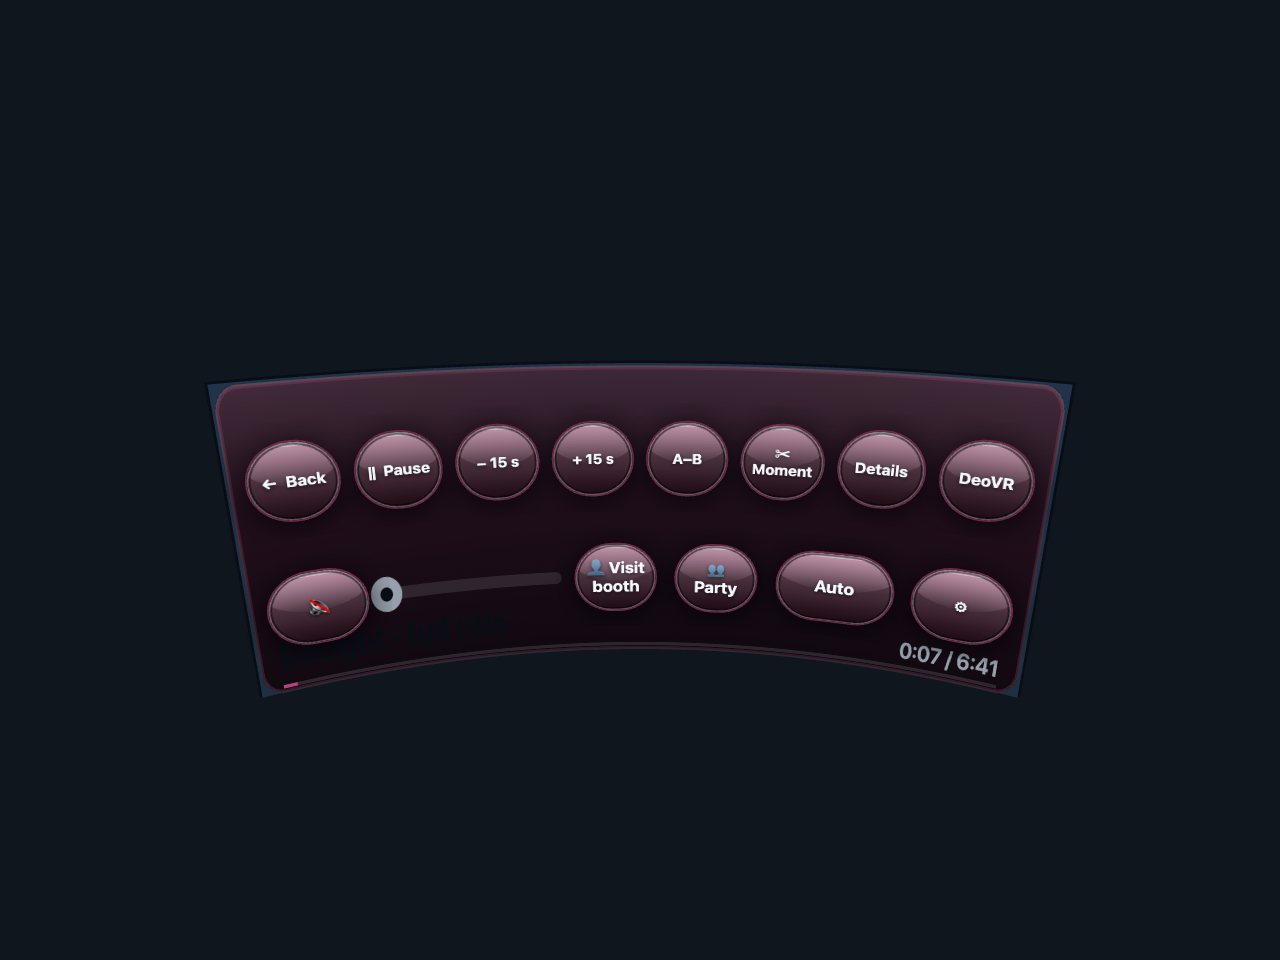
The dome control bar in the VR hub.

How buyers see it

An orange VR badge, a resolution badge, the Format filter

Every VR card carries the VR badge and 8K / 6K / 4K; the clips page has a Format filter; fans with a headset find you in the hub, fans without one get the 360° preview. Nothing burned into the picture — a logo or text drawn once lands in one eye only.

How the hub works →

Before you press Rec

The camera is the viewer's head. Six things are decided in the thirty seconds before the take, and none of them survives an edit — so they are a checklist, not a style question.

01

Set the camera at eye level

The lenses sit exactly where a real person's eyes would be. Standing: 1.60 m. Seated: 1.20 m. Lying: pillow height.

The danger: Too low and the viewer feels like a child for the whole clip; too high and they float. No edit repairs it.

02

Keep the horizon dead level

Never tilted left or right. Check the camera's own level every time you move it.

The danger: Two degrees off makes a share of viewers dizzy and sick within a minute.

03

Never turn the camera on its side

The two lenses act like two eyes and must stay side by side, horizontally — whatever the body of the camera is pointing at.

The danger: A vertical shot kills the 3D completely. The picture stays sharp; the depth quietly leaves.

04

No zoom — move the camera

There is no zoom in VR. To get closer, the camera moves. Keep performers between 40 cm and 1.5 m from the lenses.

The danger: Closer than 30 cm crosses the viewer's eyes and gives headaches. Past 3 m the depth is gone and it looks like flat video.

05

Keep it still

No handheld, no walking, no fast pans. The viewer is sitting still; a moving camera moves the whole room out from under them.

The rule: Lock it on the stand. If it truly must move: very slowly, in a straight line, on wheels or a slider.

06

Treat the lens like a person

When a performer looks into the lens, the viewer feels direct eye contact — the most powerful thing this format does.

The rule: Mark the floor with tape so everyone knows where to look. You cannot direct attention afterwards in VR.

Three of these never come back — Format, height and tilt are decided before Rec; a monitor shows none of them wrong. The only place they show is a headset — which is why the last section of this page is about looking at your own scene there before it goes on sale. Finish, upload, check →

The room

The line through the lenses cuts the room in half. Everything in front of it is on screen — floor, ceiling, the corner with the bag. Everything behind it does not exist. One rule, and it is geometric.

behind the lens line — not filmed: lights, recorder, towels, you LENS LINE camera, two lenses, 1.60 m high too close · under 30 cm the scene · 40 cm – 1.5 m background · past 3 m, flat 30 cm1.5 m3 m
The set from above. Distances are measured from the lenses and they are the same on every camera — they come from how two human eyes work, not from the model you shoot on.

In front of the line — on screen

Cover the whole half-circle

A 180° camera sees the whole half-circle, floor to ceiling. Cover the full arc with something you are happy to have in the shot. A lamp in front of the line is part of the set — on purpose, or not at all.

In front of the line — on screen

A proper stand

The one thing that cannot hide: a slim monopod on a small base shows far less of itself than three splayed legs. Reaches 1.60 m, locks there, weighed down.

In front of the line — on screen

Protect the lenses

A mark sits in the middle of the scene for the rest of the take. Protector if your rig takes one; otherwise a distance band where nothing reaches it. Wash hands, then touch the camera.

Behind the line — never filmed

Soft, and from behind the line

Soft, from behind the lens line or high above it aimed forward. A hard light off to one side blows out one eye and leaves the other clean — a smear in the headset your monitor never shows. Bounce off the wall or ceiling behind the camera.

Behind the line — never filmed

A recorder close to the action

Presence comes from sound more than from resolution. Hide a recorder in the bedding or just behind the near edge of the shot, record thirty seconds of empty room for the joins, skip music.

Behind the line — never filmed

The reset kit

Towels, wipes, gloves, a second sheet, warm water, the spare card — within reach, invisible. Shoot clean to dirty and write the order down before anyone undresses: there is no way back without a full reset. The half of the room the camera cannot see is your working area — it can look like anything.

Who the viewer is

Whoever puts the headset on gets the camera's height and position for the whole take. Decide who that person is first; height, distance and framing follow from the row you pick.

The one that sells

Eye-line

You are
the partner standing right in front
Camera
1.60 m high, 40 cm – 1 m away

The performer works to the lens the way they would work to a face; inside a metre a headset reads a person as present in a way no flat close-up does. Do not creep under 30 cm to intensify it — that is where it breaks.

Best for long takes

Seated

You are
sitting on a chair, a couch, the edge of the bed
Camera
about 1.20 m, 50 cm – 1 m back

The most comfortable position to watch for a long time and the easiest to shoot — the one height where a normal stand, a normal room and a performer standing or kneeling all agree.

Lying down

You are
on your back, being straddled or leaned over
Camera
flat on the bed at pillow height, lenses up

The one people get wrong: turning the camera on its side to frame it better rotates the lens pair out of line with the viewer's eyes and the 3D collapses. The lenses stay level with a pair of eyes, whatever the camera body points at.

Floor

You are
kneeling or sitting on the ground, looking up
Camera
30 – 50 cm off the floor, dead level, 40 – 80 cm back

Height is what makes this land: from down here everything above reads at full scale, which no flat lens can fake. Watch the horizon — a camera this low shows tilt more than any other position.

Voyeur

You are
nobody — in the room, not in the scene
Camera
standing height, 1.5 – 3 m back

The only setup where two or more performers read clearly, because everyone fits without anybody inside the near limit. Nobody looks at the lens. A breather between the close positions, and the establishing shot a scene of intimate takes never gets.

The rule

One identity per take

Moving the camera between rows inside one shot teleports the viewer. A different height is a different take; write height and distance down so two takes cut together later. Five to fifteen minutes on one setup reads as natural — a fast sequence reads as an assault.

The camera

One rule behind every pick: two lenses side by side, recording VR180 at 5760×2880 or more, 30 fps, from a stand. Prices are the makers' own shop prices from September 2026 — a guide, not a quote.

Our pick · under 1,000 €

Recommended

SLAM XCAM 2026

Two Sony 1/1.5-inch sensors, 10-bit colour, 8K at 30 fps as finished VR180 3D — nothing to stitch — a 190° view, a big screen so you see what you shoot. And it streams 6K straight to our server over RTMP or SRT: camera and encoder in one box, no OBS needed for a live show. The only camera we found under 1,000 € that fills our top 8K rung and goes live on its own.

Resolution
8K · 30 fps · 190°
Live
RTMP / SRT built in
Price
999 $ incl. customs

Spend less · about 800–900 $

CALF × VISINSE

Two Sony 1/2.3-inch sensors, 8K at 30 fps or 6K at 50 fps as finished VR180, RTMP over its network port, pocket-sized at about 300 g. Know before you buy: early units showed stair-step artefacts that firmware had to fix, and the picture stops about 160° vertically. Straight ahead — where a fan looks — it is fine; it is the smaller sensor and the rougher software of the two.

Resolution
8K · 30 fps / 6K · 50 fps
Live
RTMP
Weight
≈ 300 g

Cheapest way in · about 200–400 $

VR.cam 02

A USB camera for your computer, not one that records on its own: it plugs into OBS and delivers 3840×1920 side by side at 30 fps as fisheye. 1920 pixels per eye is our lowest rung — fine to try a live stream, too soft to sell recorded clips at VR prices. Start here only if you plan to upgrade.

Per eye
1920 × 1920
Records alone
No — needs a PC
Good for
first live tests
Above 1,000 €, for the record: ViewPT Realia (about 1,900 $ — 8K/30, 6K/50, RTMP and USB), Canon R7 or R50 V with the RF-S 3.9 mm dual-fisheye (about 2,500 $ — only 4K and 144°, a poor fit for VR180), Canon R5 C with the RF 5.2 mm dual-fisheye (about 6,000 € — the professional tier).

Not a VR camera

A 360° action camera

It records everything around it — and all of it flat: one lens per direction, no pair, no depth. In a headset that is a wraparound poster. Coverage and stereo are different features, and only the second one is why anyone buys VR.

Not a VR camera

A phone

Spatial video is stereoscopic, but the lenses sit centimetres apart and see an ordinary field of view: a 3D window a metre wide, not a place to be. A real format — not this one.

Second camera

2D at the same time is nearly free

A flat camera behind the lens line is invisible to the VR one. Both sell here — and the hub shows your 2D clips to fans who open your page in a headset.

Finish, upload, check

Less editing than you are used to — and one step that only exists here: your draft plays in your own headset before anyone pays for it.

  1. Process it with the app your camera came with. One automated pass that turns what is on the card into finished VR180. The only step that differs between models.
  2. Level the horizon once, then leave the geometry alone. No rotate, crop or scale afterwards — leaving them alone is what keeps the two eyes lined up.
  3. Go easy on stabilisation. Shot on a stand? Nothing to do. A take that needs steadying wants a light touch.
  4. Grade it, and lift the shadows a little. Headset screens run dimmer than your monitor; raising the dark end keeps your detail.
  5. Keep the cuts simple. Cut between takes at a similar camera height, or fade to black. No zooms, no speed ramps, no logo, watermark or text burned into the picture — anything drawn once lands in one eye only.
  6. Upload with the trailer, then open the Drafts tab in the hub. Your unpublished clip plays there in full for you alone, marked "Draft — only you can see this". Height, tilt, distance, a marked lens — all of it is obvious in ten seconds there and invisible on a monitor.
The dome control bar in the VR hub.

Only here

Drafts play in your headset

In the VR hub your unpublished clips sit under their own Drafts tab, which only creators see. A draft or a clip still in review plays there in full, marked "Draft — only you can see this". Check height, tilt and distance there before anyone pays.

How the hub works →
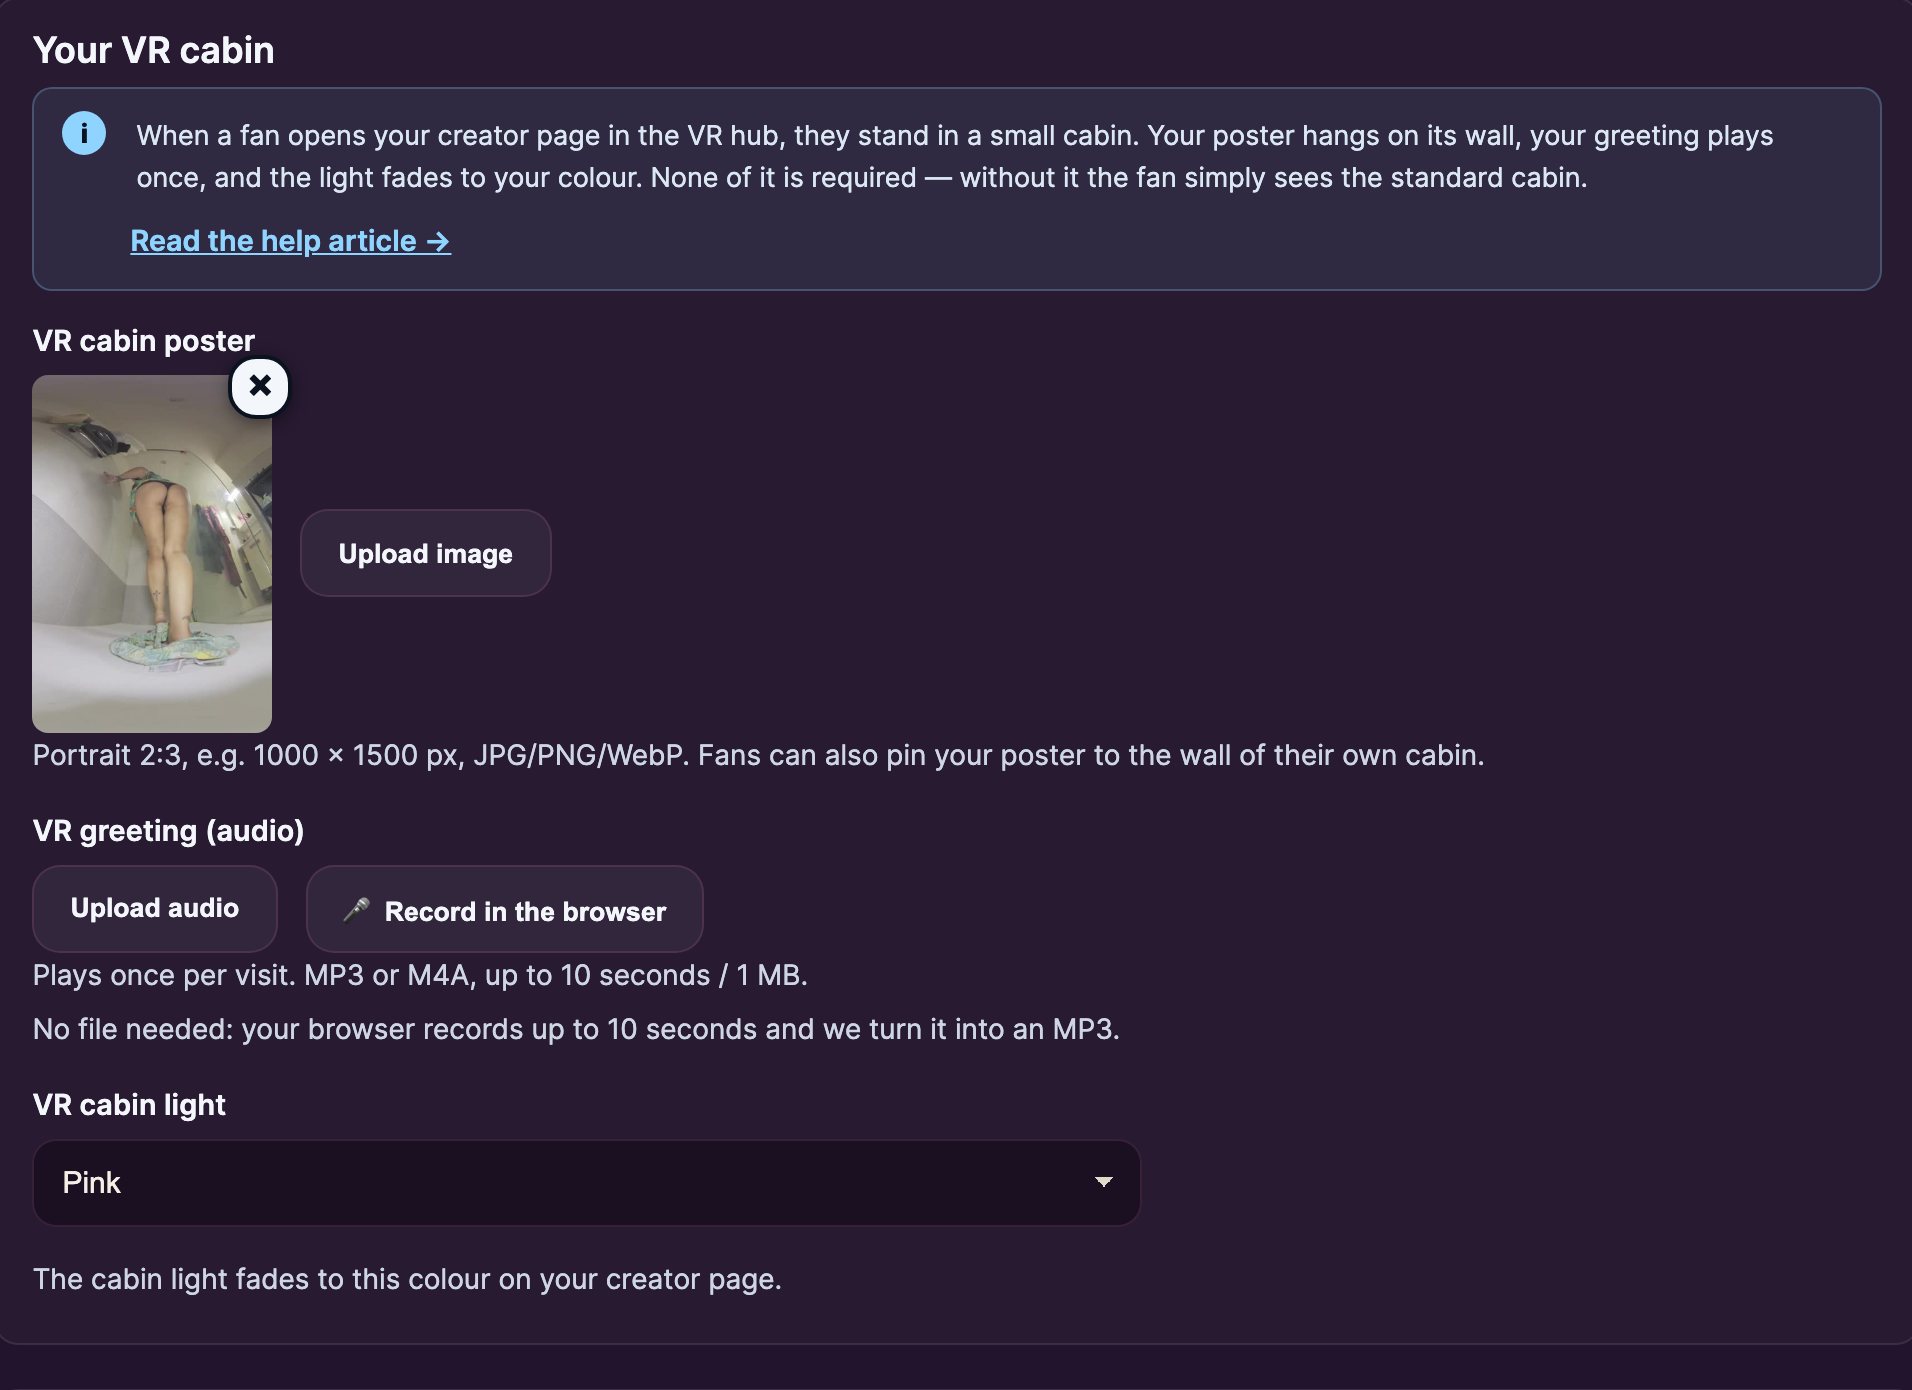
The three VR cabin fields in Store Brand Setup.

Your room

Your cabin: poster, greeting, light

Fans who open your page in the hub stand in your cabin — your poster on the wall, a short voice greeting, the light colour you chose. Three fields in Store Brand Setup, no file prep beyond a JPG and an MP3.

Cabin, requests and series →
How long should a VR scene be?

Longer than the flat equivalent. Presence takes a minute or two to settle, and once it has, people stay somewhere far longer than they watch something. Fifteen to forty minutes is ordinary; long unbroken takes are a feature, not something to apologise for.

Do I need someone else on set?

No. The camera is locked off, so there is nothing to operate — start recording, walk into the scene, cut it afterwards. A remote or the camera app saves the walk in and out of frame.

Can I sell VR footage I already have?

Only if it is already 180° side-by-side stereo. Nothing turns a flat or a 360 video into VR180 — the second eye was never recorded.

Can I stream live in VR?

Yes — the same camera, OBS or the camera's own RTMP, and the VR180 switch in your livestream settings. Viewers watch the live dome in the hub; the chat, tips and effects work there too.

What about requests and series?

Fans can order a personal voice greeting or a signed poster from inside the hub, and three of your clips can form a series with a trophy for fans who own all of them. Both are switched on in your store settings; the full guide has the fields.

Before your first upload, watch something in the headset your buyers use — it is the fastest way to learn what your own footage should feel like.

Discover